This series of photos is of a Wooden Shoe being built in Norway
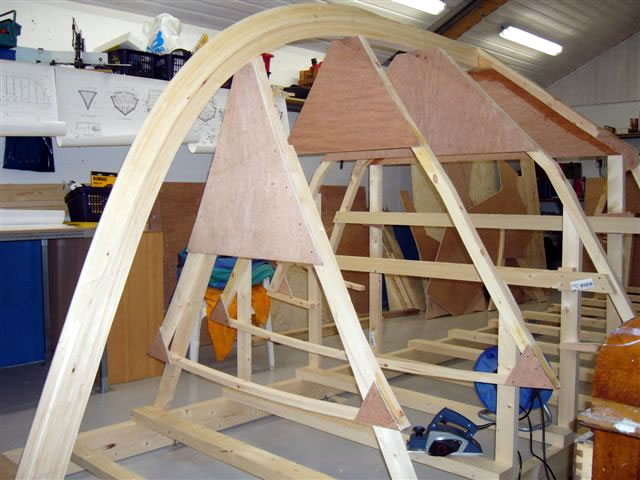
The builder has set up the stem and forward frames on the ladder frame
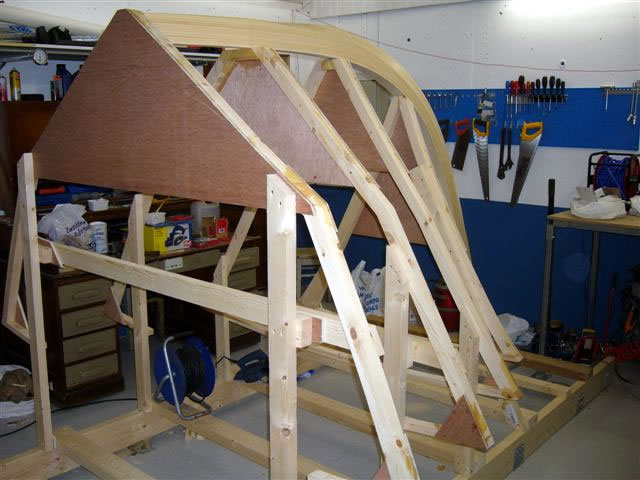
Same view from the back.
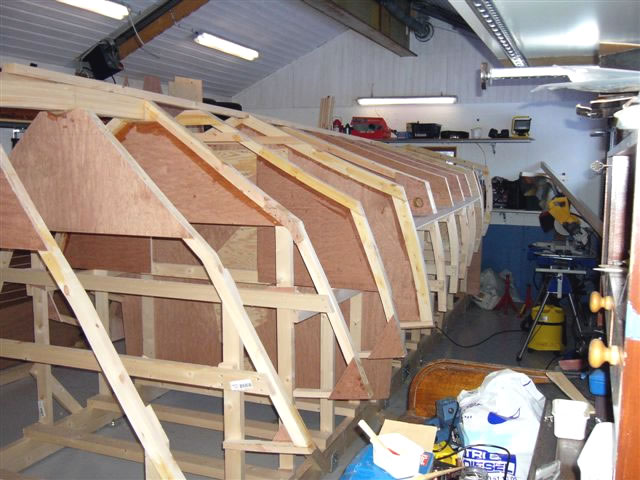
Here the builder has set up all the molds, frames, web frames, cockpit sole, and transom frame. What appear to be frames between the cockpit sole and the ladder frame are temporary molds. They will be removed after the boat is rolled over.
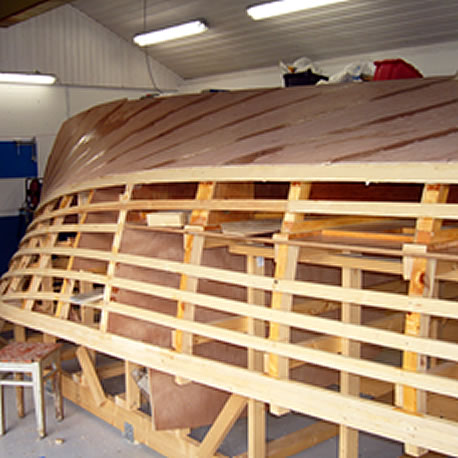
All the stringers have been installed and the first layer of bottom planking is installed.
More photos to follow soon.
The following series of photos is of a Wooden Shoe being built in Chile
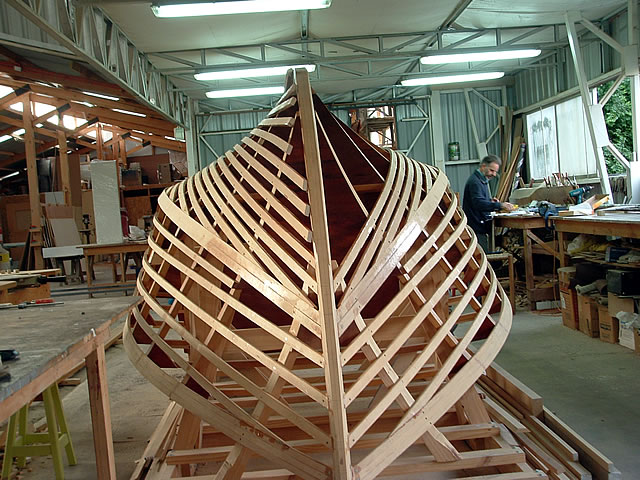
View from the bow with most of the stringers installed. The bow fits on some of the bottom stringers are still to be done.
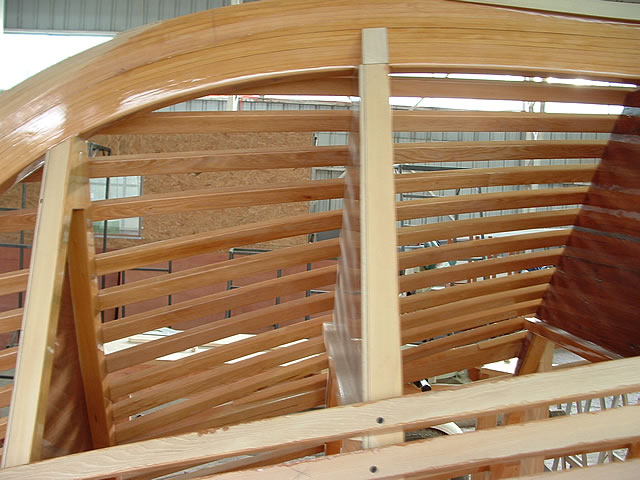
View of the stringers from the side that's still open. The stringers are epoxy coated. This builder has also chosen to epoxy coat the interior frames.
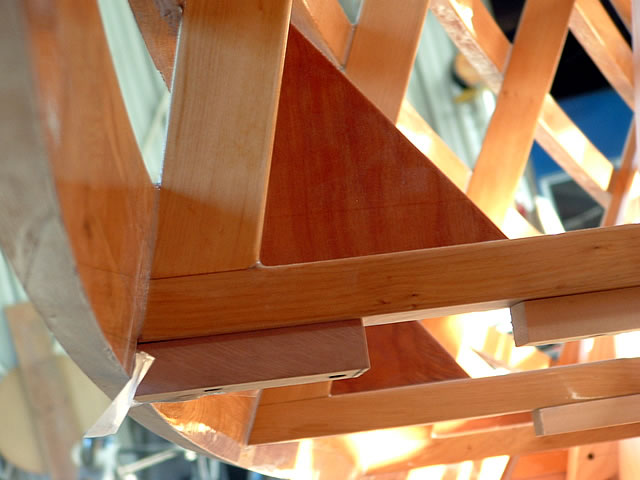
View of the sheer clamp coming around the frame heads in the bow. The deck beams are assembled to the frames on the bench.
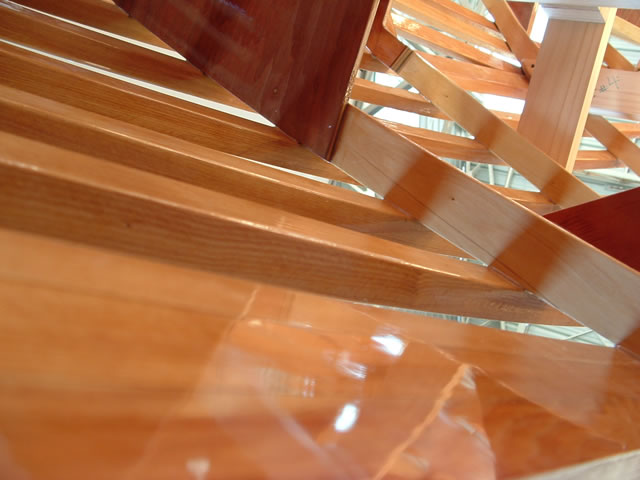
Showing the sheer clamp and stringers in the bow area. Lovely workmanship, isn't it?
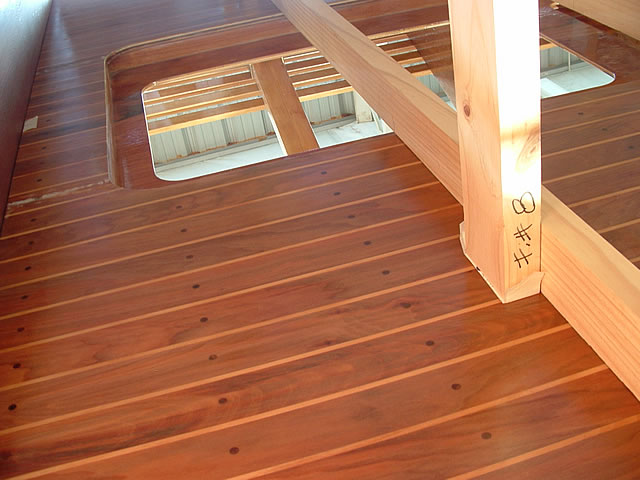
A view of the top of the cockpit sole, seen from under the boat. That's mold #8 there. They've prefinisheded everything. Much easier to do on the bench.
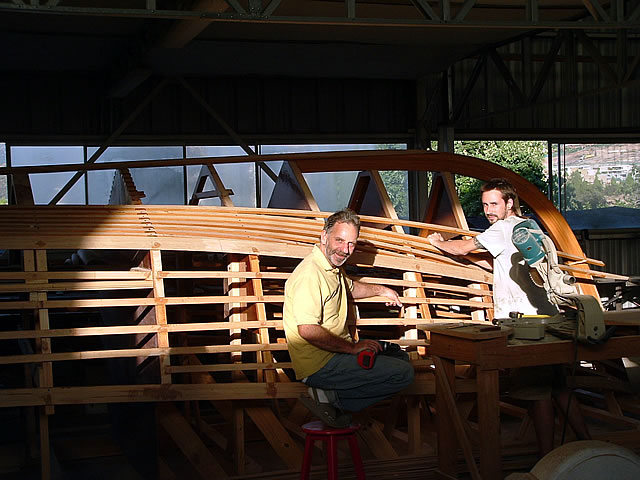
The builders, fastening bottom stringers in place.
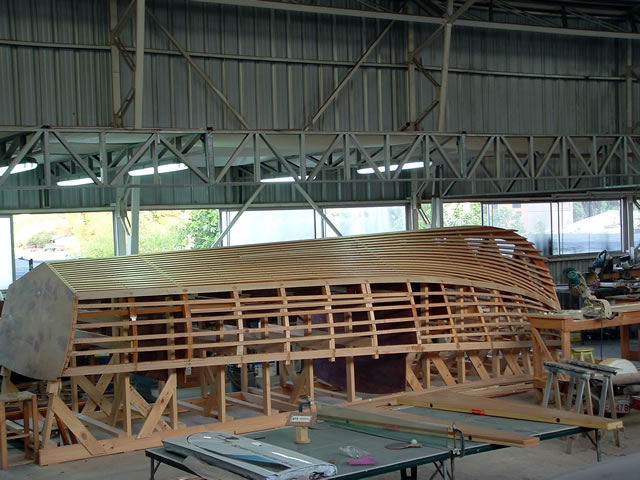
View of the topside and bottom stringers.
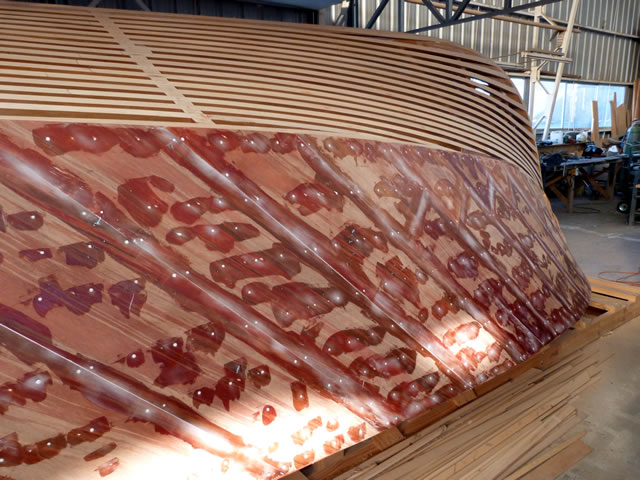
Our 23' Wooden shoe is designed to be planked with cold-molded plywood. The bottom is 2 layers of plywood laid diagonally with the layers at 90° to each other. The topsides are two layers of slightly thinner plywood laid the same as the bottom, with a final layer laid fore-and-aft. We can see the stringers notched through the cabin bulkhead in this photo.
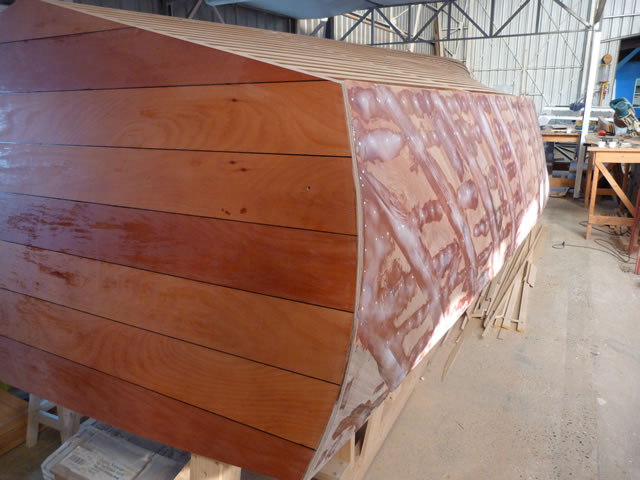
Both layers of topside planking are done. This boat will have a bright transom.
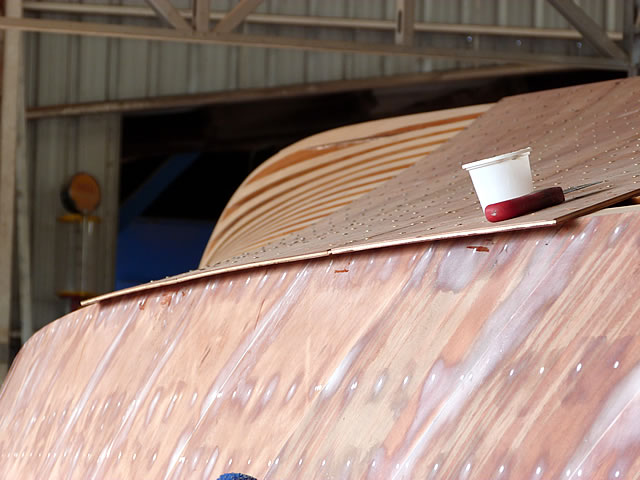
The bottom planking is started.
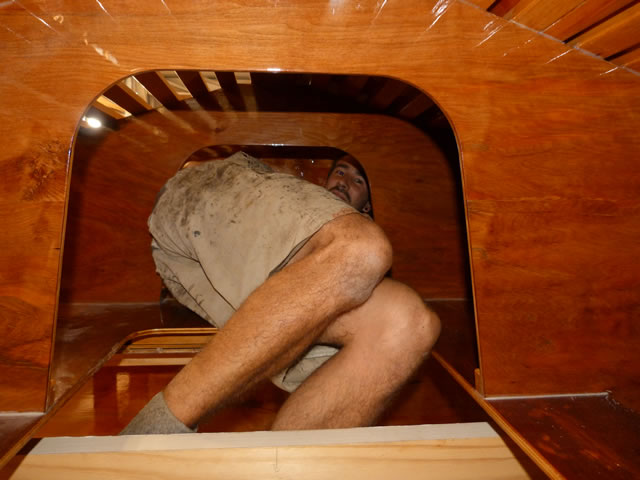
Probably the worst job in the whole building process is cleaning the glue off the first layer of bottom planking.
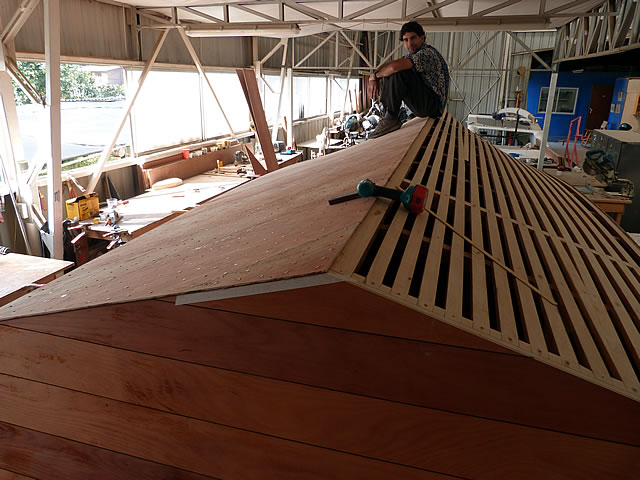
Taking a well-earned break.
|


