

|
|
|
||||||||||||||||||||||||||||||||||||||
|
| |||||||||||||||||||||||||||||||||||||||
|
||||
Building a custom wood powerboat
|
||||
Photos of the 22' Eastsider under construction, after planking began |
||||
Here we go on phase two of the construction. On this page we go from starting to plank to completion.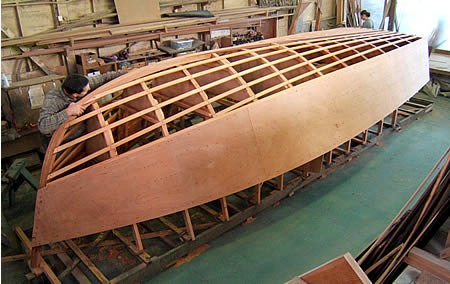 Topside panels on. We had already scarfed these panels and coated what would be their interior faces with three coats of epoxy, way back while we were making frames and other parts. So this goes really quickly. The planks are glued on with WEST epoxy, which is then thoroughly cleaned up on the interior. We use temporary washer-head screws to hold the planking in place until the glue cures. 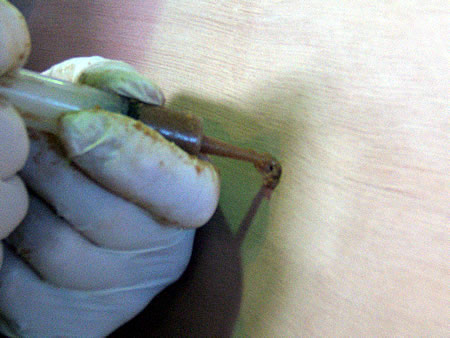 After the glue cures, we remove the screws and carefully fill each hole with epoxy putty, using a syringe. That's a lot of work, but worth it. Doing it this way minimizes the fastenings "printing through" and being visible in the very, very shiny paint. 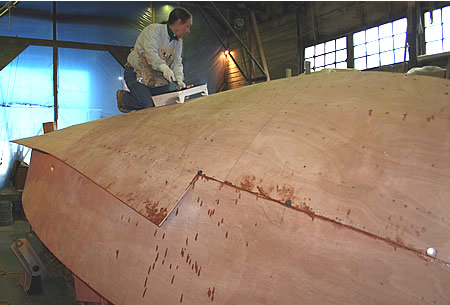 Next we plank the bottom. Note the "transition," where the bottom planking stops overlapping the side planking and begins to butt into it at the chine. As you'll see, the chine line completely disappears in the bow of the finished boat. We left the bottom planking wide along the chine so we could push on it harder to get it in place. This is a developed bottom, planked with a single sheet of plywood on either side. As you browse our website, you'll notice that most of our V-bottom powerboats have cold-molded bottoms, which creates a better shape for fast running. This boat is modeled for slower speeds and thus can do fine with a sheet plywood bottom. 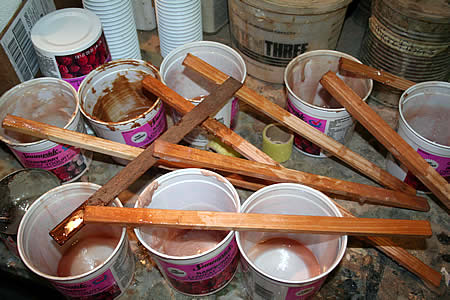 The scene on the mixing table after planking. Grab a new pot and stick, pump epoxy and start stirring . . . 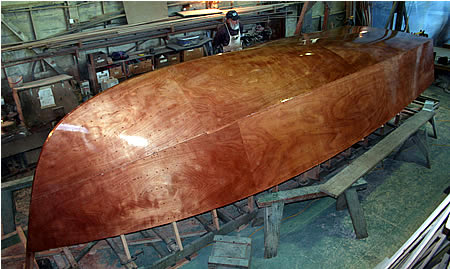 View from above after planking and resining the hull. 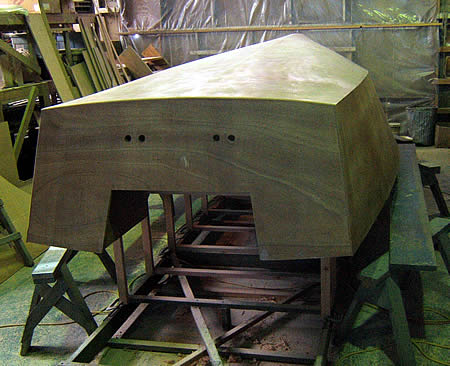 And from the stern, after sanding. You can see that the quarter-buttock lines have quite a bit of curvature, which is good for slower running, yet the bottom also has a large triangular pad in the center to plane on. 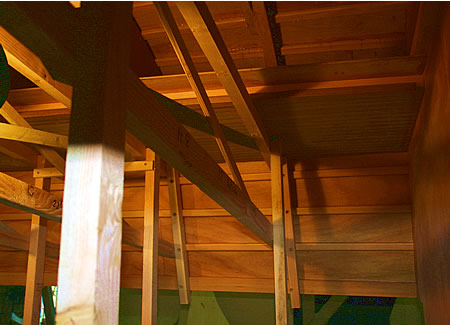 This is what the hull looks like inside at this point. All very clean. 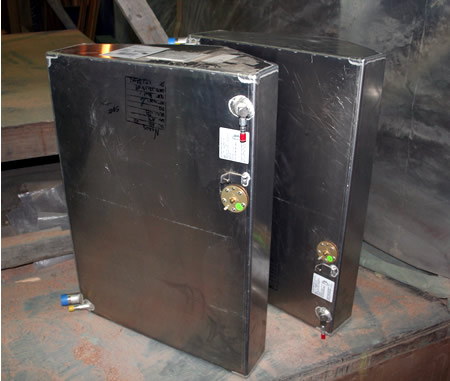 Now we get the custom tanks made and fitted to the hull while it is still upside down. It's easier than standing on your head. These tanks are welded of 3/16" marine aluminum alloy. Very durable. These tanks never give any trouble. Since they are installed after the boat is finished, they can be removed the same way they go in. No destruction or alteration necessary. Our boats will last a very long time, so we make every provision possible to make them maintainable into the indefinite future. 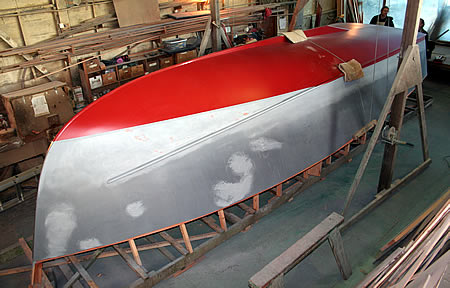 Now we've got the spray rails on, she's undercoated, the antifouling paint on, and she's ready to pick up and roll over. Isn't that an interesting shape? Quite fine in the bow, very much so for a boat with a developed bottom, and very little chine immersion aft. This is a very light boat. It will be relatively fast with little power and still have a good motion in a chop. 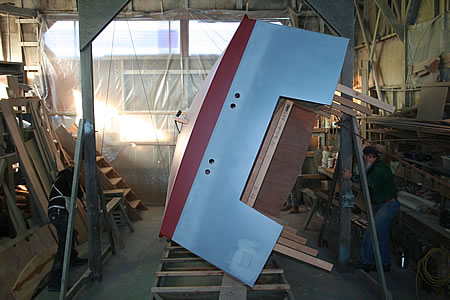 Over we go. We're using a very simple rollover jig which works well for hulls up to 1000 lbs. It only takes three people to operate and is gentle for the boat. 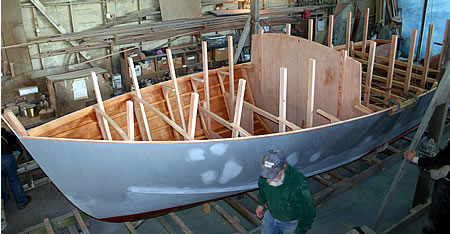 Here's the new view. 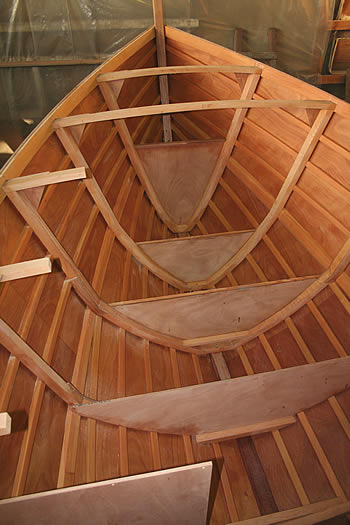 This is what it looks like in the cabin, immediately after removing the jigging legs from the frames. 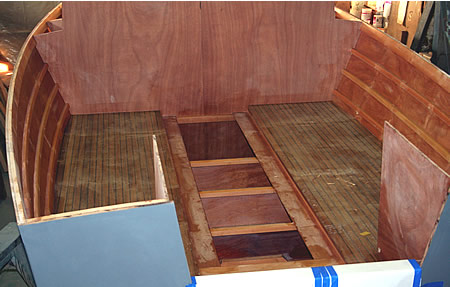 And in the cockpit after removing the molds which create the topside shape. Note that no framing penetrates the cockpit sole. We hate things that can go wrong. Inboard of the teak sole halves, you can see the start of the drain troughs which carry water, which will leak around the hatch covers, aft and out through the transom. Big drains are the secret to a dry bilge. 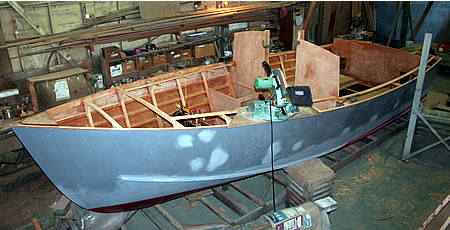 Now we start the deck frame. The companionway is cut in the cabin bulkhead, the splashwell bulkhead is added aft, and the deck shelves are in place. 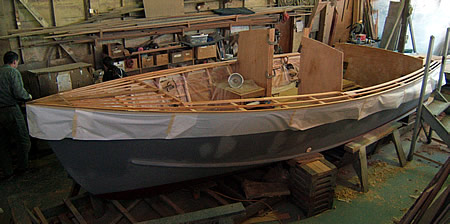 The deck stringers are installed. Like our hulls, the stringers are installed on top of the frames or beams in this case, rather than being notched through them. This is better construction, stronger and cleaner. The stringers are notched through the cabin bulkhead because we want it water and vapor-tight. 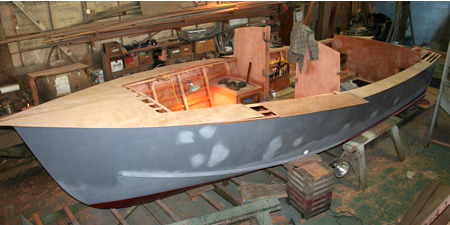 After installing all the deck stringers, we plank the deck with plywood which has been epoxy coated on the underside. The plywood is scarfed in place. You can see that we've also been busy building the interior cabinets. Good to get that done while we can still stand up in there! 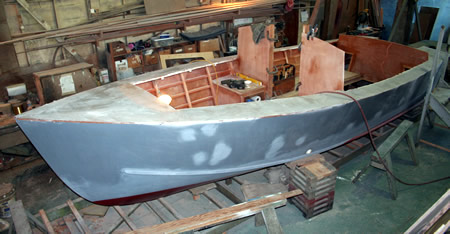 The deck is now installed, glassed, and over-resined with gray epoxy, except aft of the cabin front where you can just make out the clear epoxy used there. 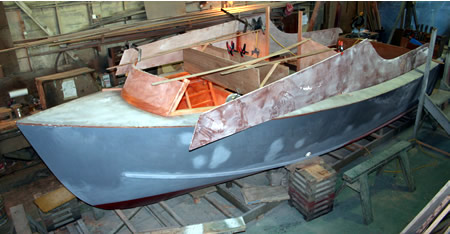 The cold-molded and vacuum bagged cabin front, which you may have noticed on the previous page, is now installed and we're fitting the cabin sides. These cabin sides, like most other parts for this boat, were cut out using computer-printed Mylar templates. 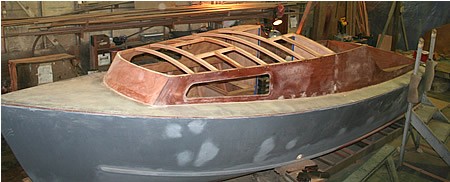 Now the cabin beam carriers and cabin beams are in place, with both hatches framed in.  Before installing the cabin top, we Cetol the interior. That piece of fir plywood at the top of this photo is just for us to kneel on while doing finishing work. 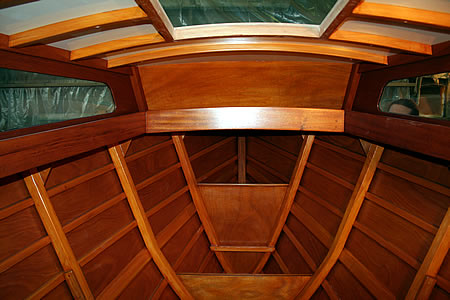 It looks like this after we install the cabin top. The bottom of the cabin top was Awlgripped before being installed. 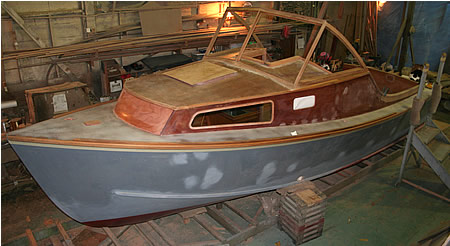 I think a little time has passed since that last photo. This one finds the guard and toerail installed, along with the cockpit coaming caps and windscreen. The exterior wood which will be finished bright is all teak. 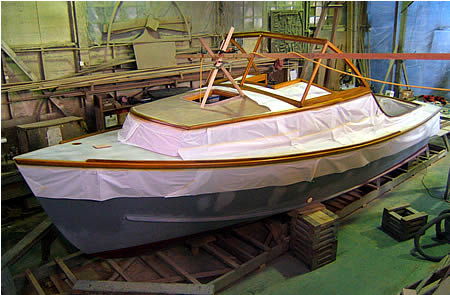 The teak has been coated with Cetol. Next comes the paint. 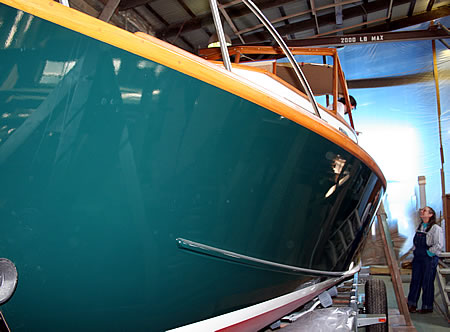 Which looks like this. All the paint is Awlgrip. The canvas top is being patterned here. 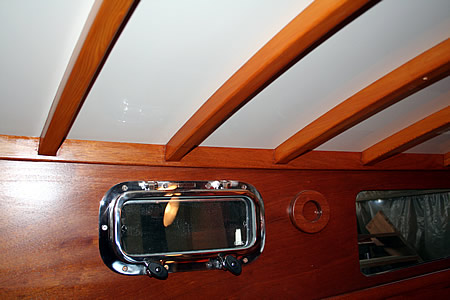 Next we install hardware and wire. 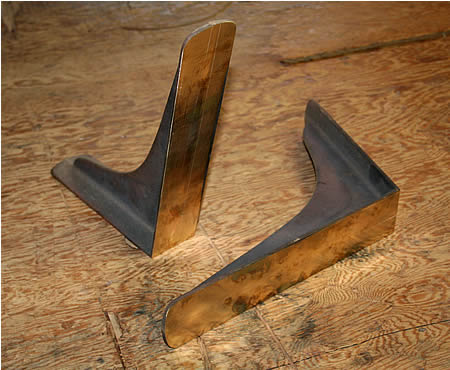 We'll install the teak swimstep on these custom cast silicon bronze brackets. 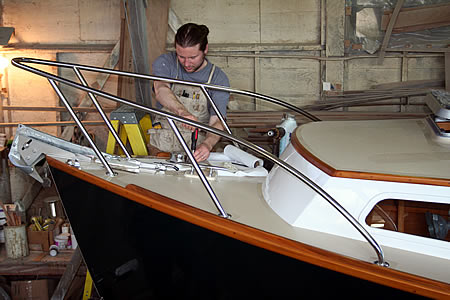 And install the rest of the exterior hardware. This little project is finished. Additional pages will show more exterior details and running photos. |
We are located on the Snohomish River in the Pacific Northwest, about 20 miles north of Seattle.
Click here for a map to Nexus Marine Corporation.
| Home | The Boats | Boat Plans | About Nexus | Why Wood | FAQ | Links |
| 22' Eastsider Home Construction, page 1 |